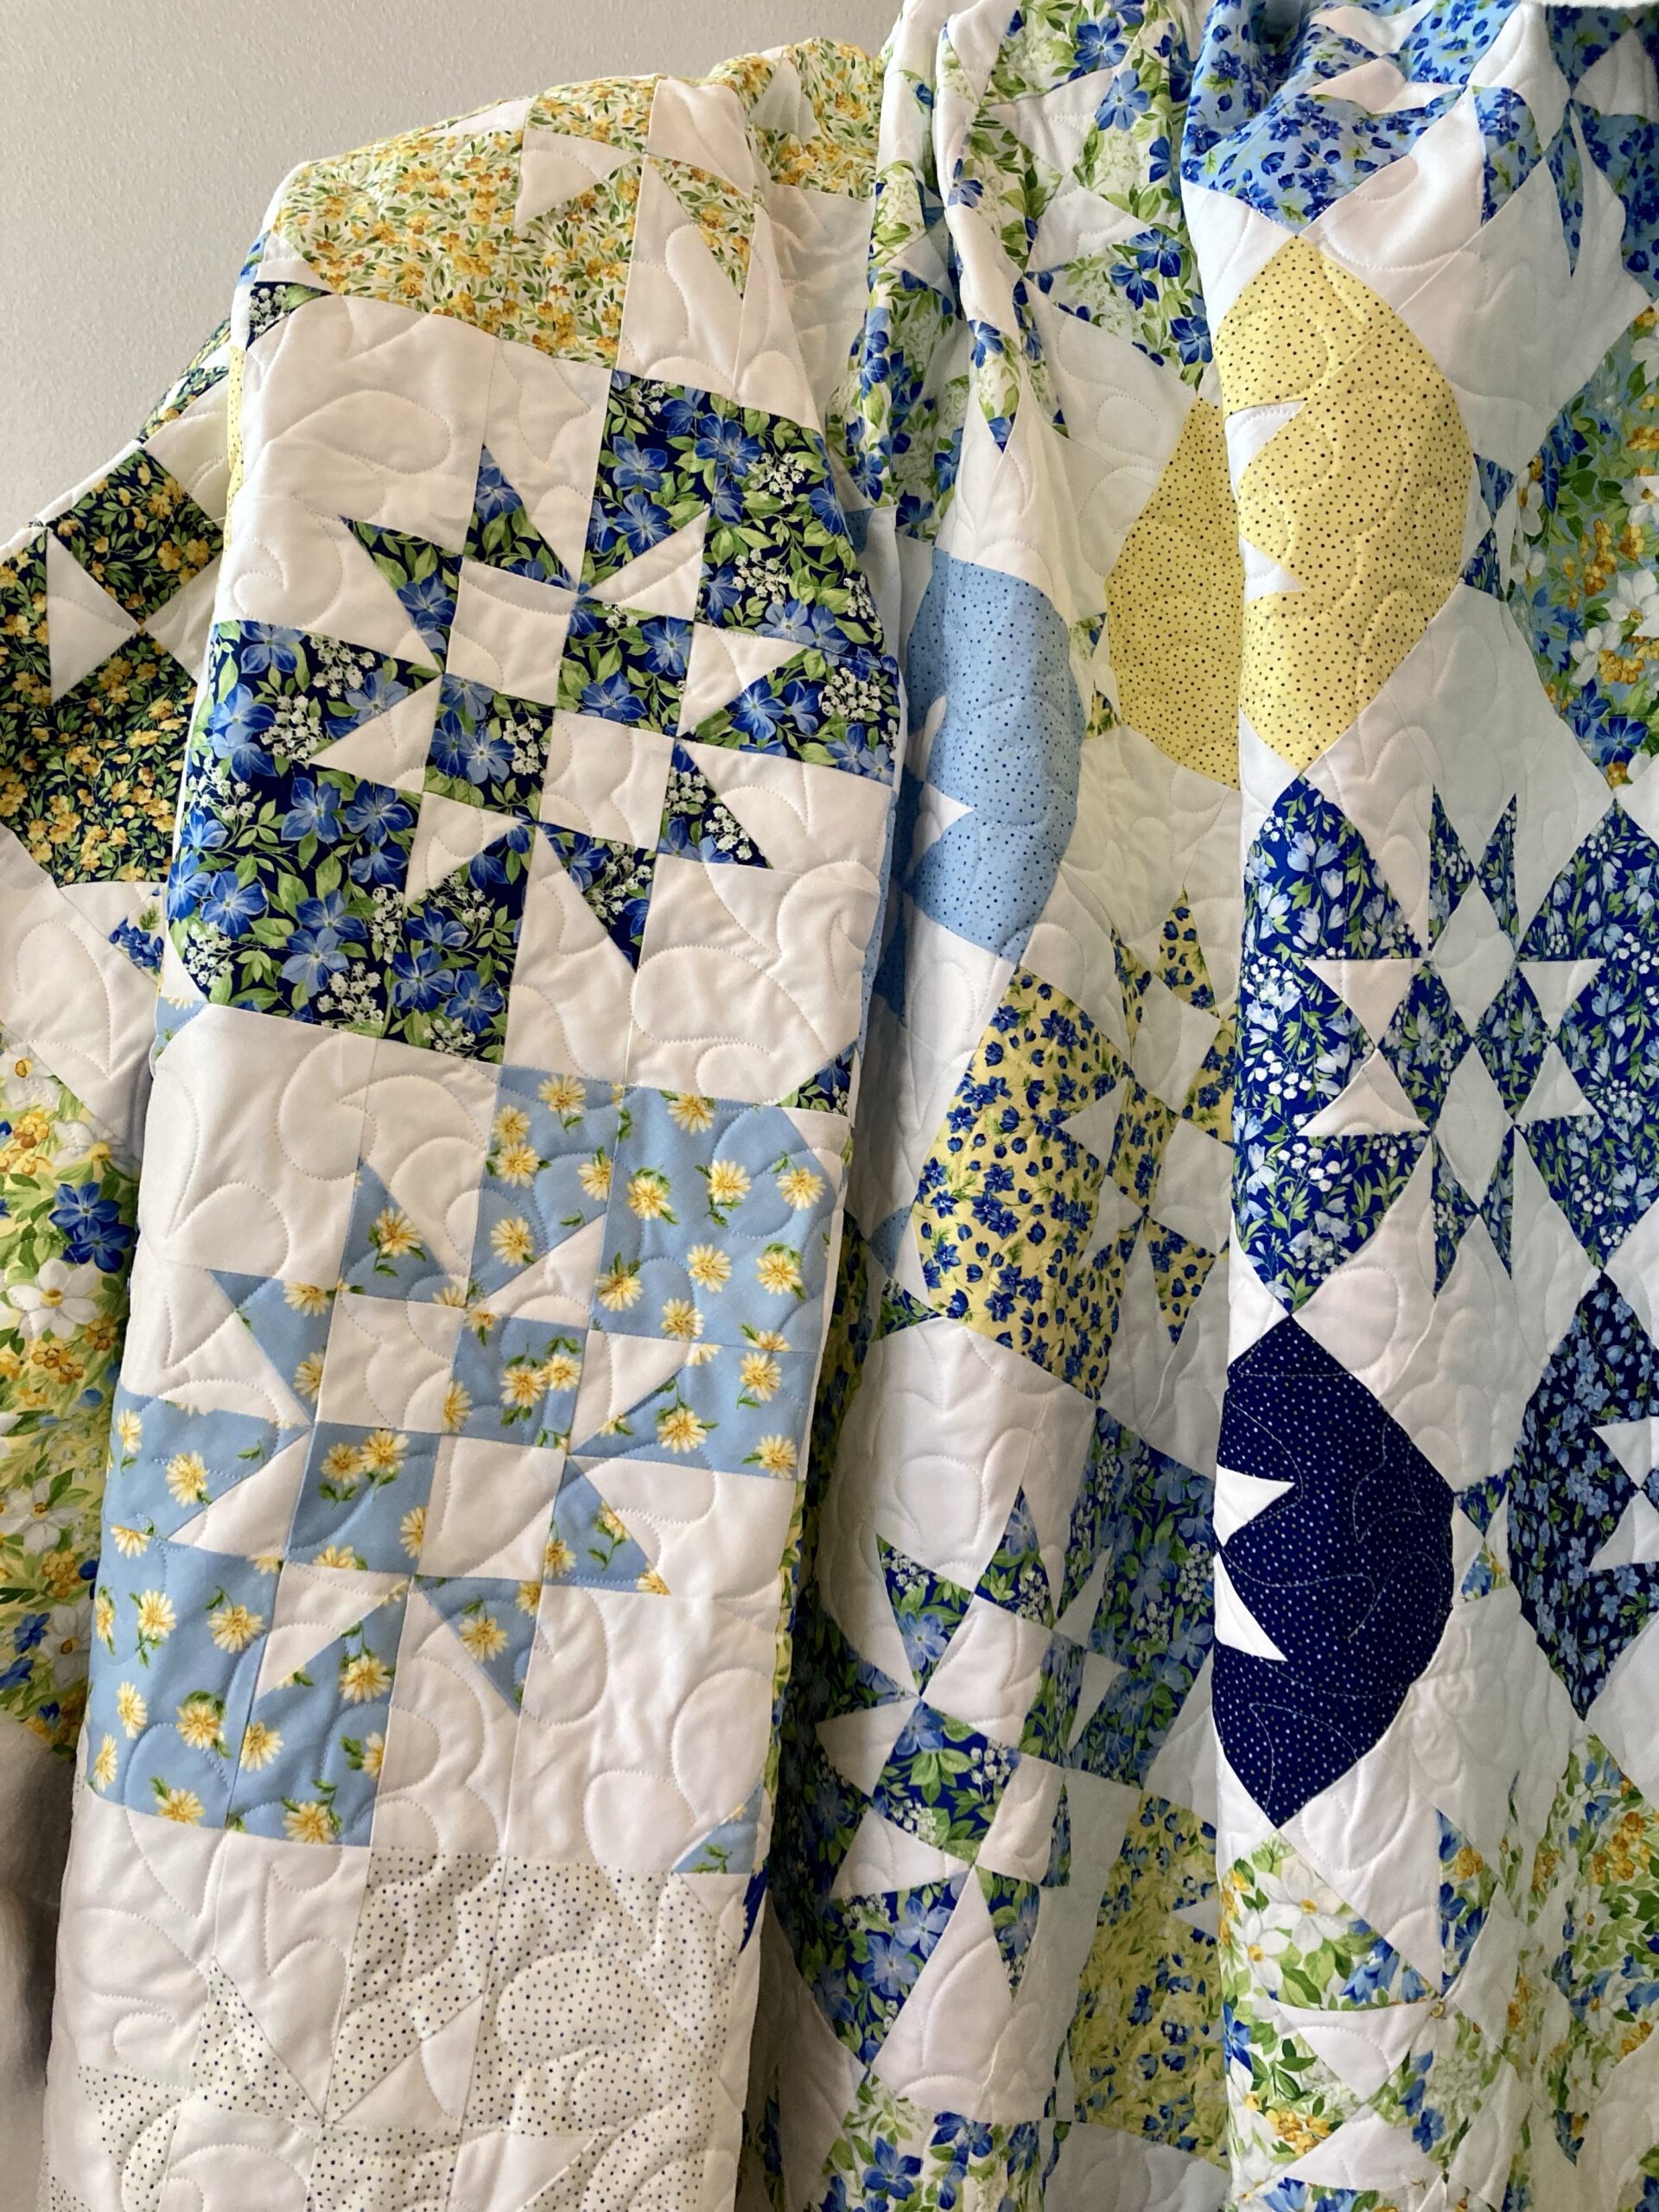
Paper piecing is a quilting technique that allows for precise, intricate designs that would be difficult to achieve with traditional piecing methods. Whether you’re a beginner or an experienced quilter looking to refine your skills, this guide will walk you through the basics of foundation paper piecing and how to get started.
What Is Paper Piecing?
Paper piecing, also known as foundation paper piecing (FPP), is a quilting technique where fabric is sewn onto a printed paper pattern to create precise shapes and angles. Unlike traditional piecing, which relies on precise cutting and seam allowances, paper piecing allows for complex designs with perfect points and intricate details.
Why Use Paper Piecing?
✅ Precision: Paper piecing ensures accurate angles and sharp points.
✅ Complex Designs: Allows for detailed patterns that are difficult with regular piecing.
✅ Less Fabric Waste: Since pieces are sewn onto a template, there is minimal miscutting.
✅ Great for Small Pieces: Ideal for tiny quilt blocks that require fine details.
What You Need to Get Started
To begin your paper piecing journey, you’ll need a few essential tools:
• Foundation Paper: Standard printer paper, newsprint, or specialty foundation paper.
• Fabric Scraps: Small pieces work well, especially for intricate patterns.
• Rotary Cutter & Ruler: For trimming fabric precisely.
• Sewing Machine with a Short Stitch Length: A setting of 1.5–2.0 makes paper removal easier.
• Iron & Pressing Mat: Pressing between steps ensures crisp seams.
Step-by-Step Guide to Paper Piecing
1. Choose a Paper Piecing Pattern
Start with a simple pattern, such as a star or a geometric block. Many free patterns are available online, or you can use books dedicated to foundation paper piecing.
2. Print and Prepare Your Template
Print your pattern on foundation paper. Each section of the pattern is numbered—this is the sewing order you’ll follow.
3. Cut Your Fabric
Cut fabric pieces slightly larger than the sections they will cover. This gives you some wiggle room when sewing.
4. Sew Fabric to the Paper Template
• Place your first fabric piece on the back of the paper template, right side up.
• Lay the second fabric piece right side down, aligning it with the first piece.
• Sew along the printed line on the paper side, using a short stitch length.
• Flip the second piece open and press with an iron.
5. Trim and Continue
• Trim excess fabric, leaving a 1/4” seam allowance.
• Repeat the process, adding pieces in numerical order.
• Keep pressing and trimming as you go.
6. Remove the Paper
Once all pieces are sewn, carefully tear away the foundation paper along the stitching lines. The shorter stitch length helps perforate the paper, making removal easier.
7. Assemble Your Blocks
Once your paper-pieced blocks are completed, sew them together as you would with traditional quilt blocks.
Paper Piecing Tips for Beginners
✔ Start with Simple Patterns – Avoid intricate designs until you’re comfortable with the technique.
✔ Use a Lightbox or Window – Holding the paper up to a light source helps align fabric pieces.
✔ Shorten Stitch Length – This makes it easier to remove the paper later.
✔ Print Extra Copies – Mistakes happen! Having a backup template is useful.
Popular Paper Piecing Patterns
• Flying Geese – A great beginner pattern for learning the basics.
• Log Cabin Variations – Classic design with easy construction.
• Star Blocks – Perfect for sharp points and detailed designs.
• Animals & Themed Blocks – Many modern quilters use FPP to create pictorial blocks.
Final Thoughts
Paper piecing is a fantastic quilting technique that allows for stunning precision and intricate designs. Whether you’re making traditional quilt blocks or artistic modern quilts, this method can take your quilting skills to the next level.
Are you ready to try paper piecing? Let me know in the comments what pattern you’ll start with!

